
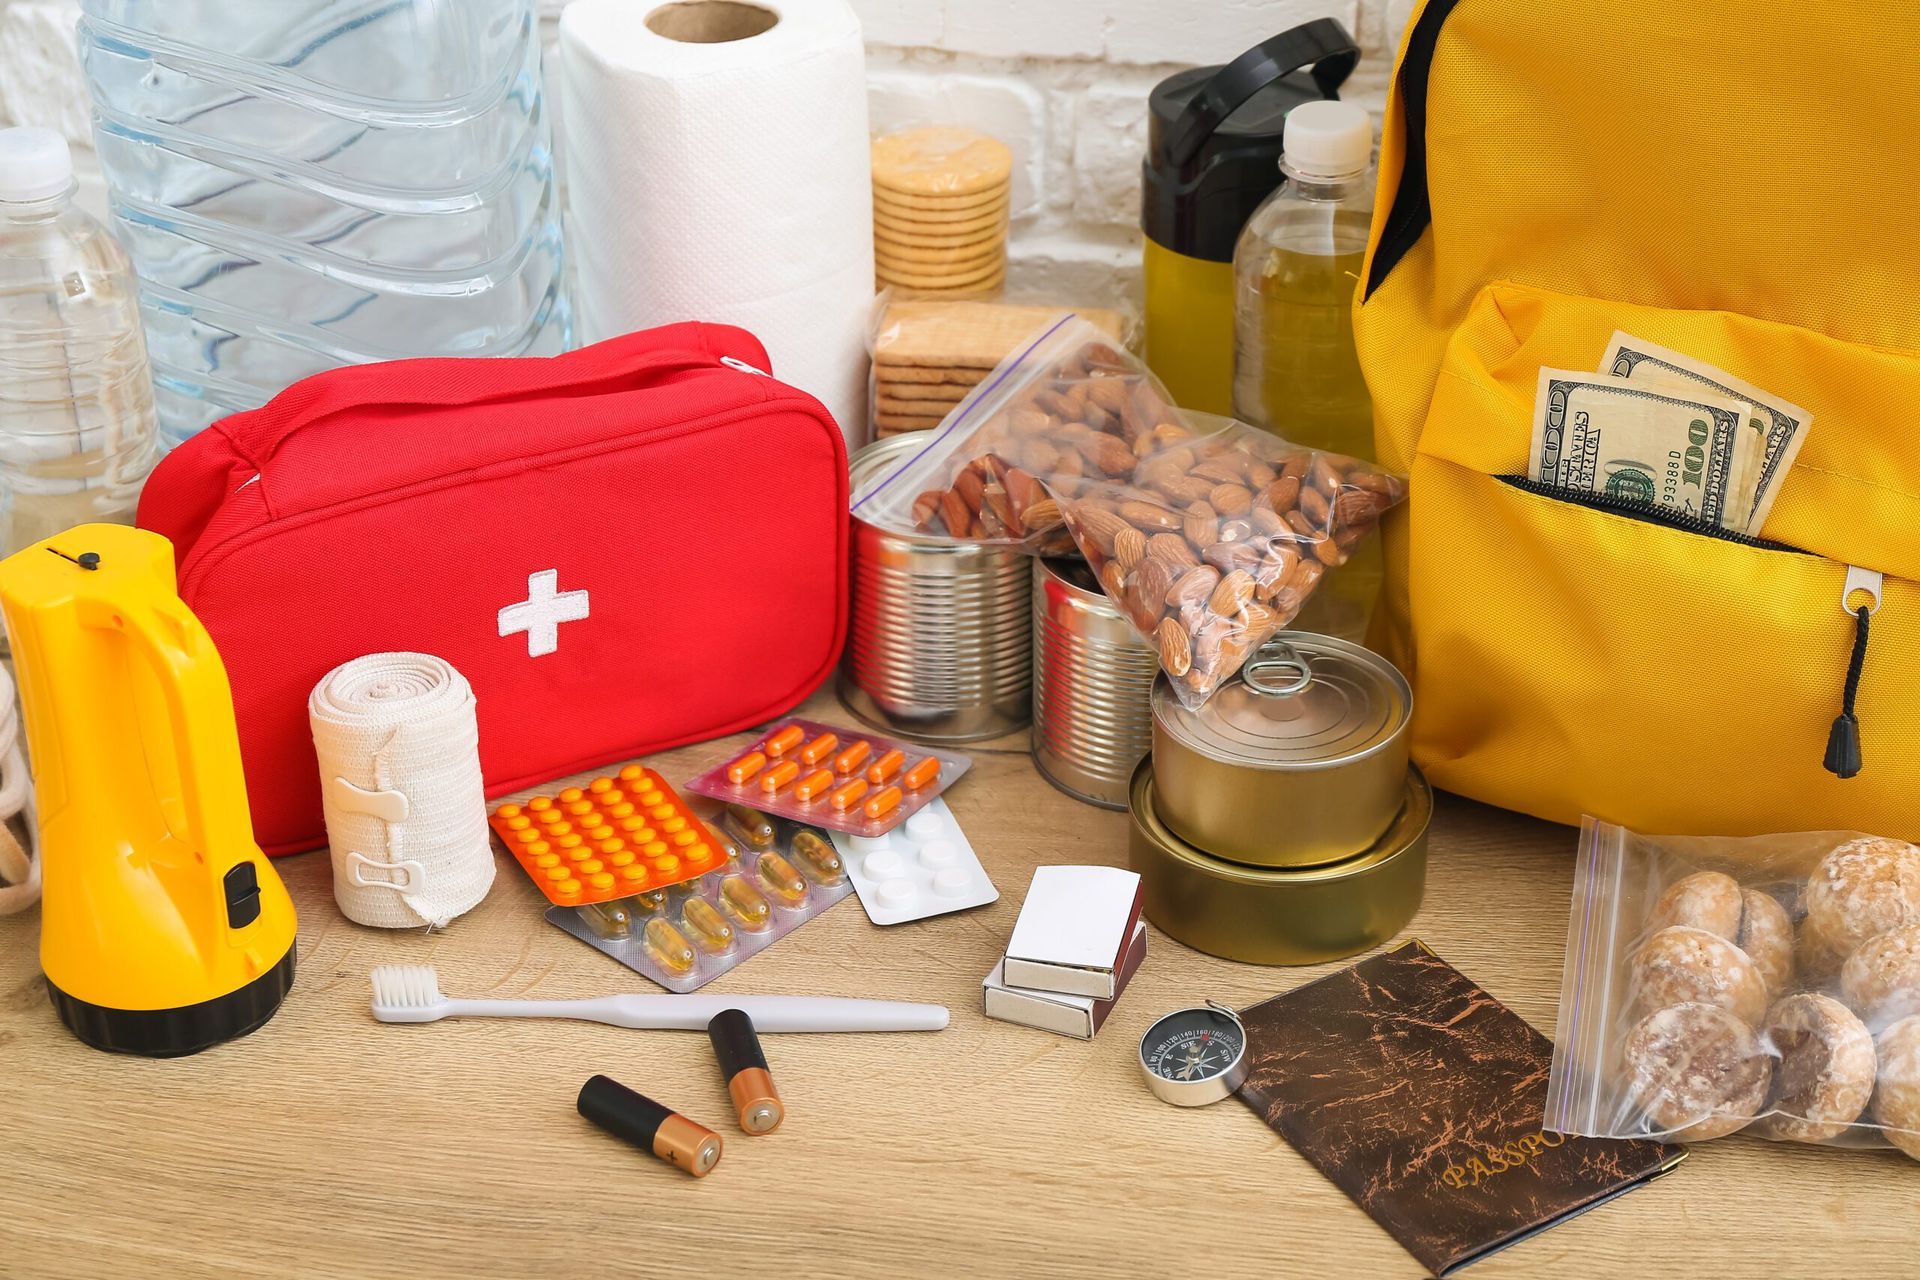


Celebrate International Emergency Kit Day by building or updating your emergency kit. Learn what supplies every home, business, and vehicle should have stored.
Learn how to build a go bag for emergencies with this step-by-step guide. Discover go bag essentials, bug out bag checklists, and emergency preparedness tips.
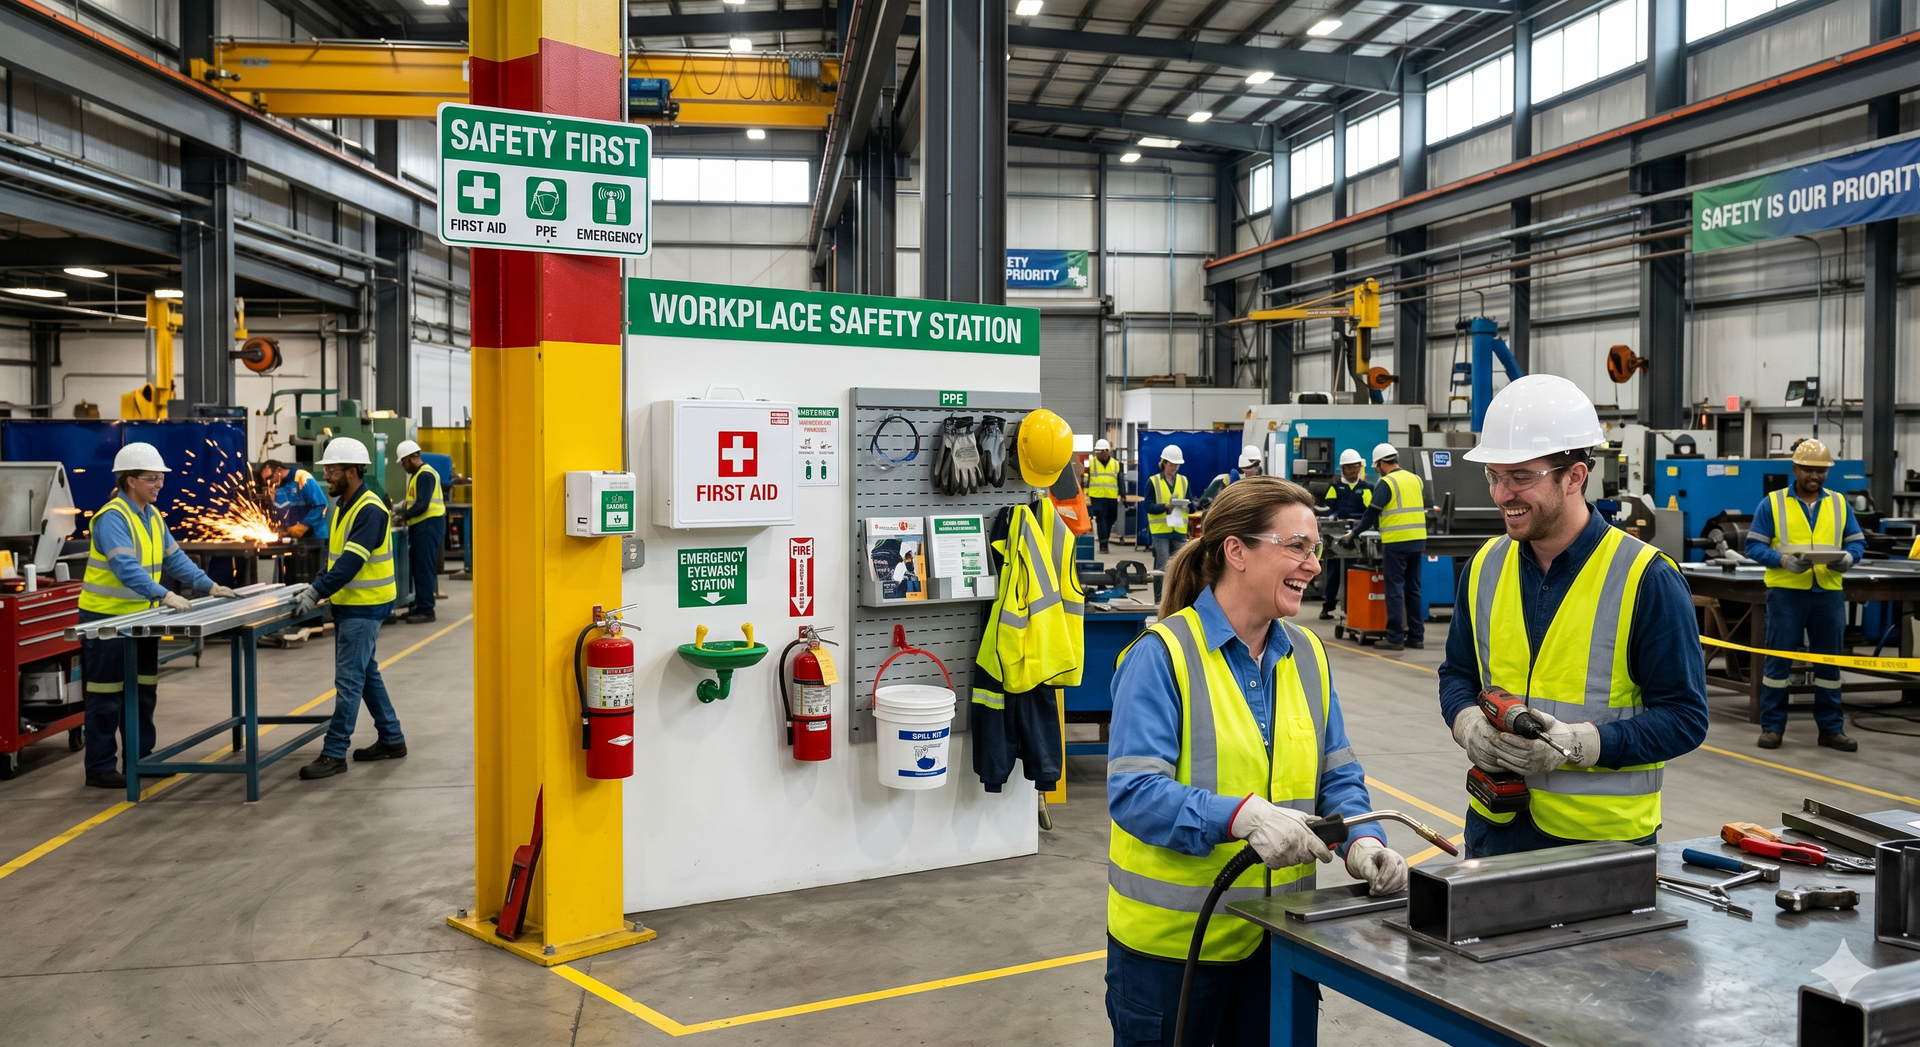
Learn how many first aid kits your small or large business needs based on employee count, facility size, workplace hazards, & OSHA workplace safety recommendations.

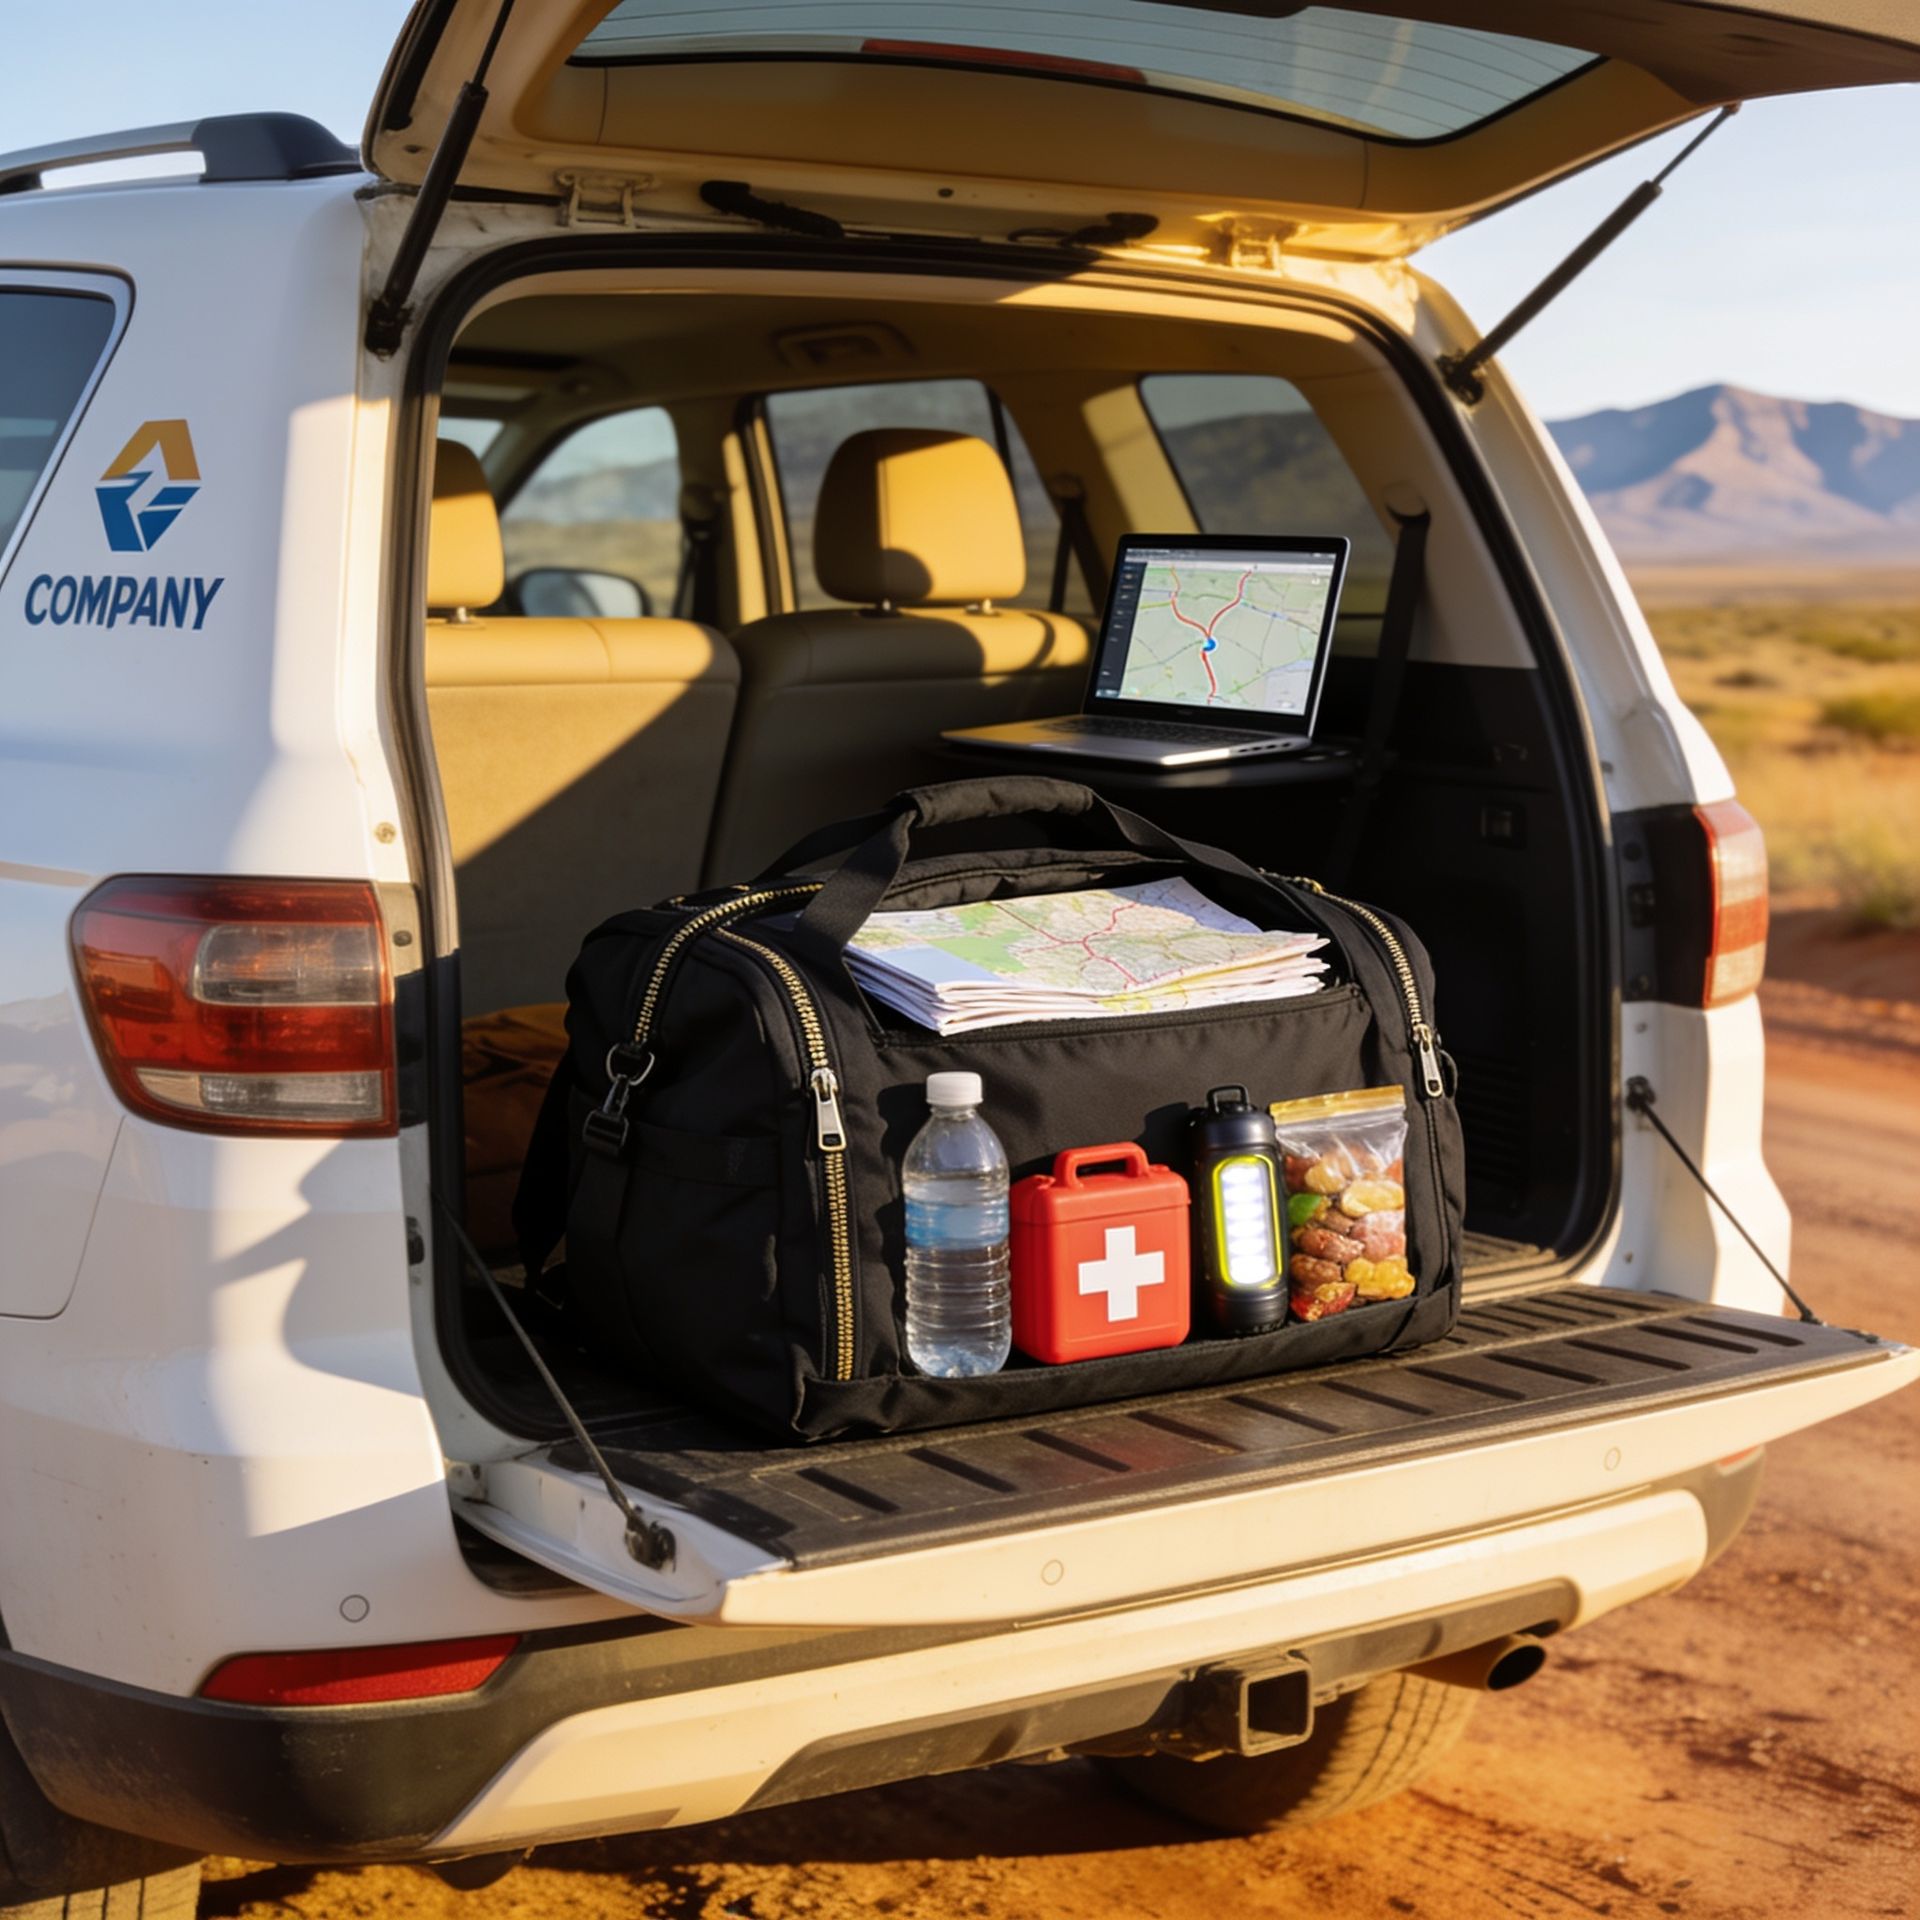
Learn what every company vehicle should carry in an emergency kit, including first aid supplies, roadside gear, and fleet safety essentials. Rapid Rescue Kits.
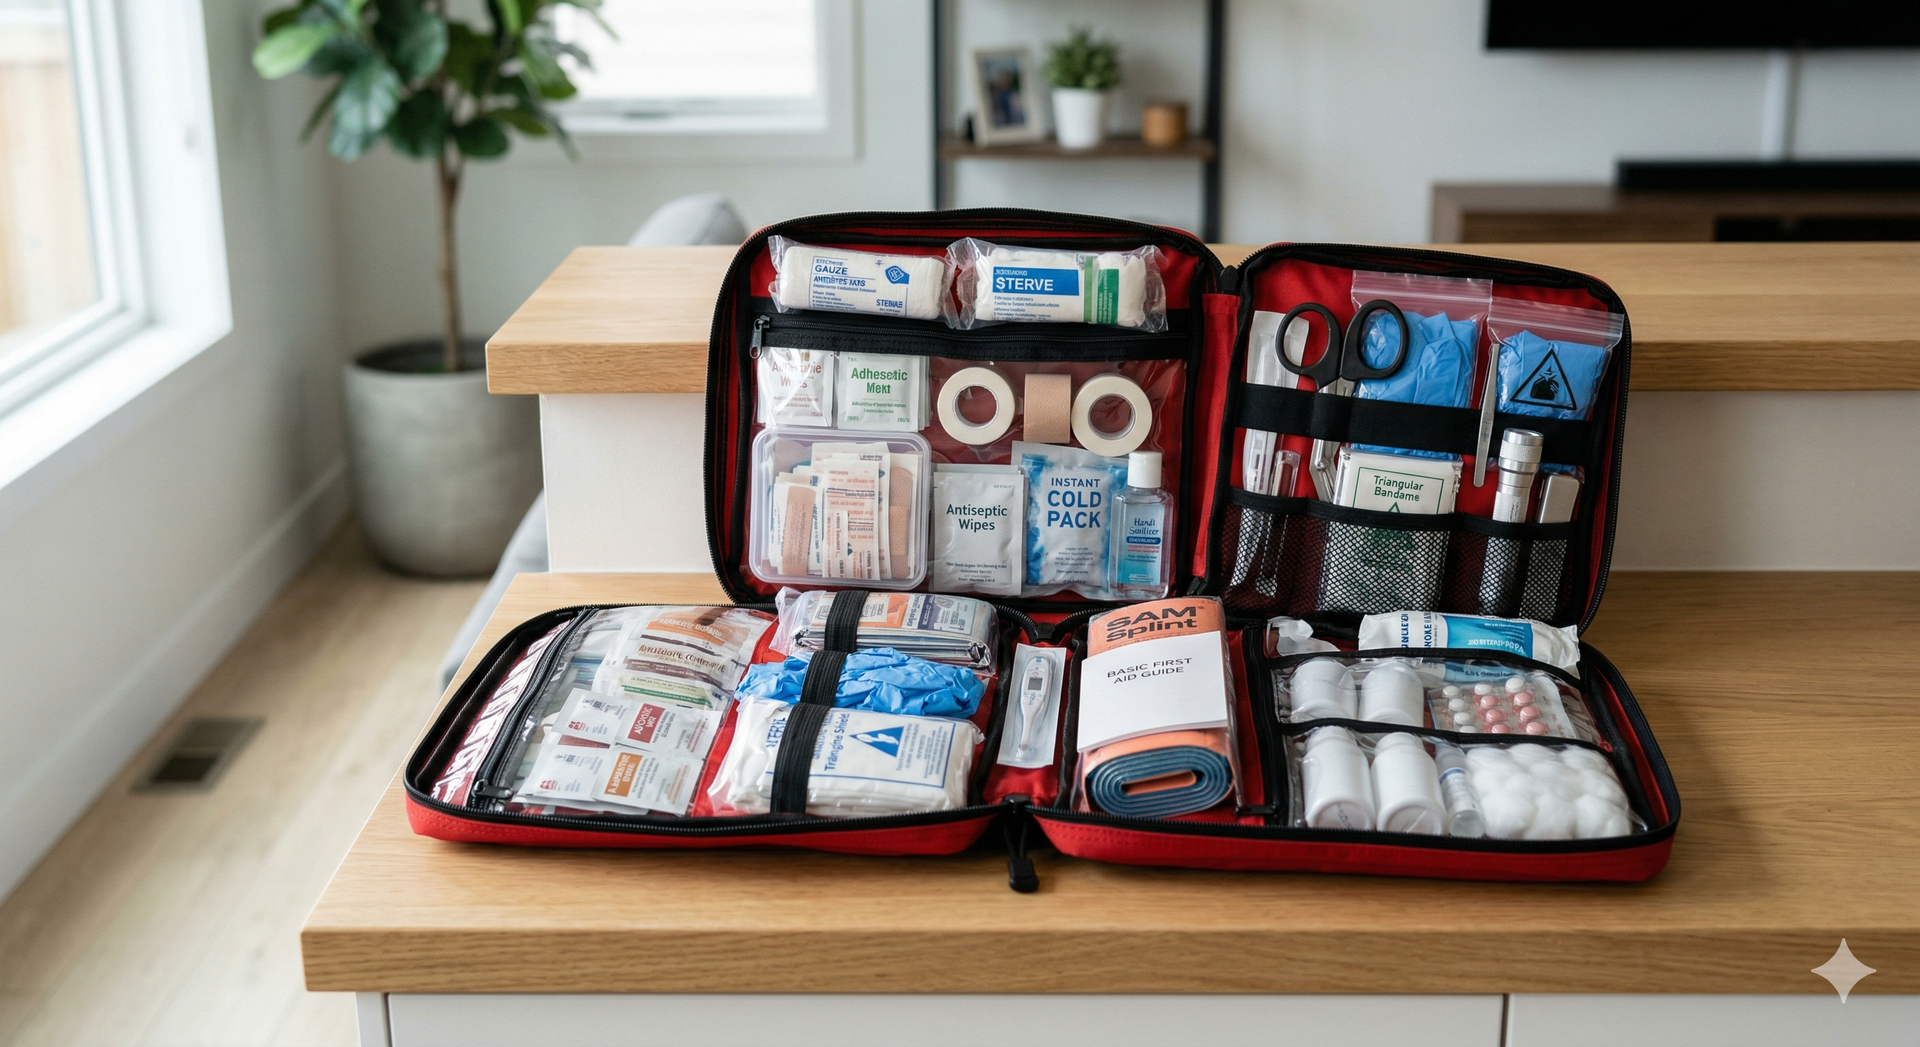
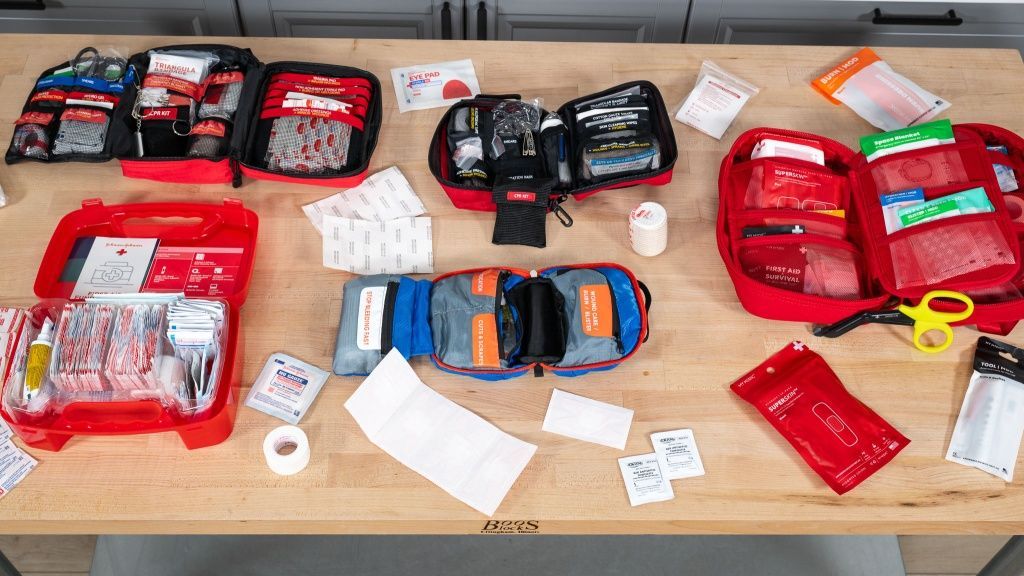
Learn what should be in an emergency kit with a complete checklist for home, workplace, and travel preparedness. Stay ready for any emergency situation or need.

Learn the OSHA first aid kit requirements for businesses, ANSI requirements, what to include, and how to stay compliant with workplace safety standards in 2026.
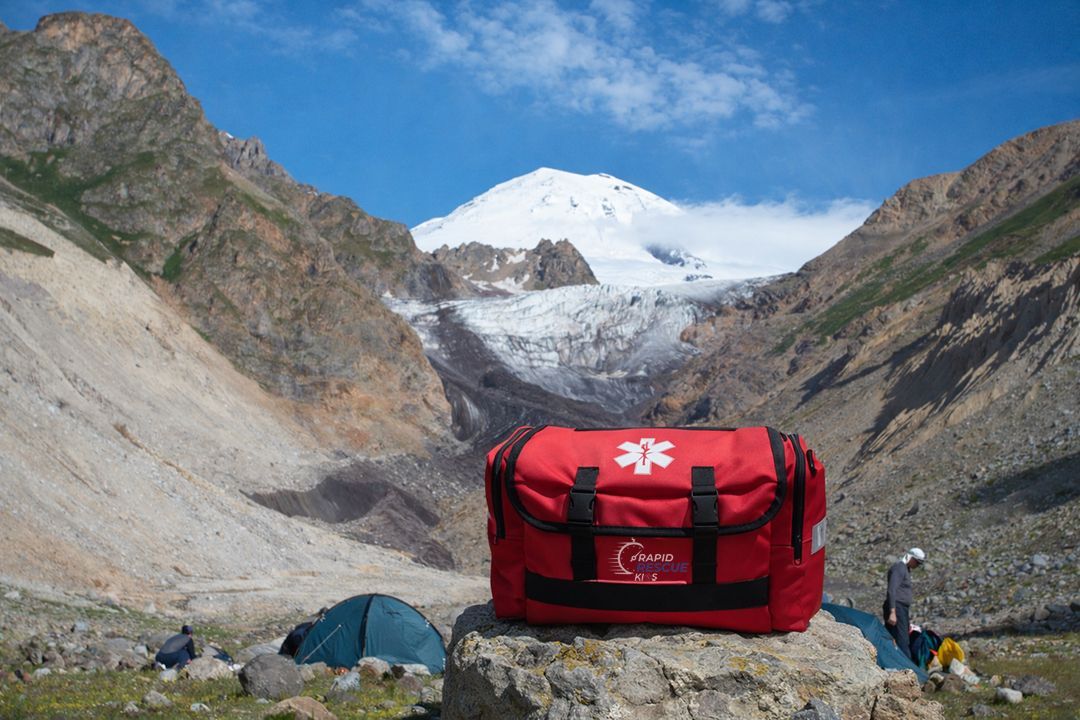
Outdoor operators face unique risks. Learn why ski resorts, rafting companies, and guides trust Rapid Rescue Kits for emergency preparedness.
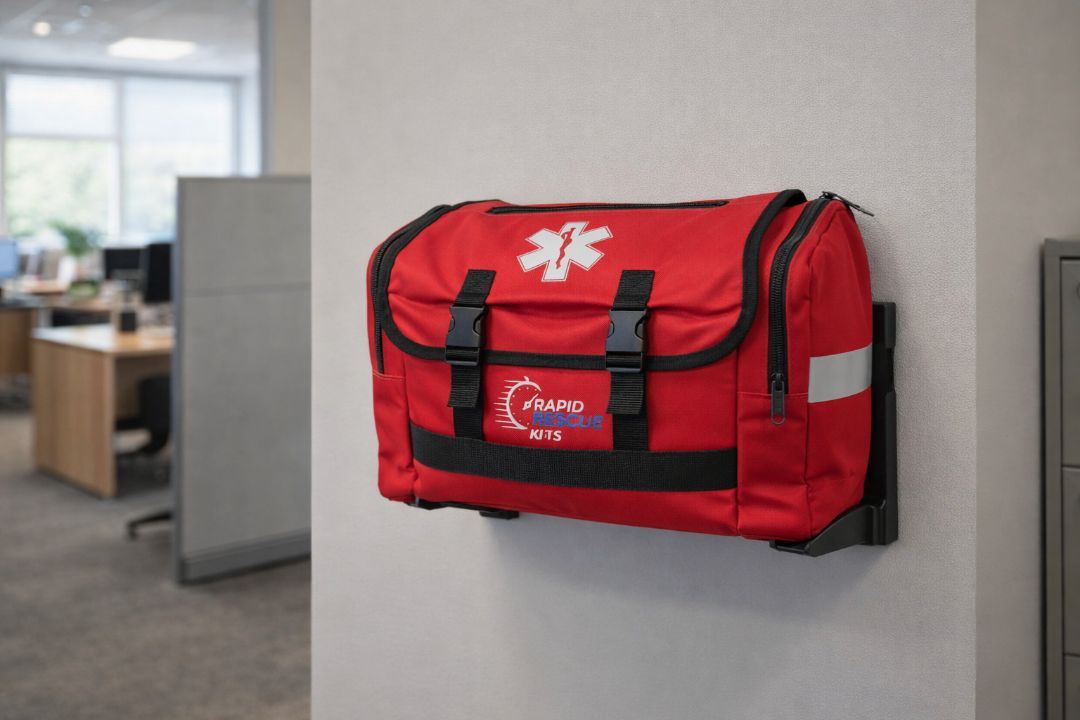
Protect employees and reduce risk with professional emergency response kits. Learn why businesses trust Rapid Rescue Kits for real emergencies.
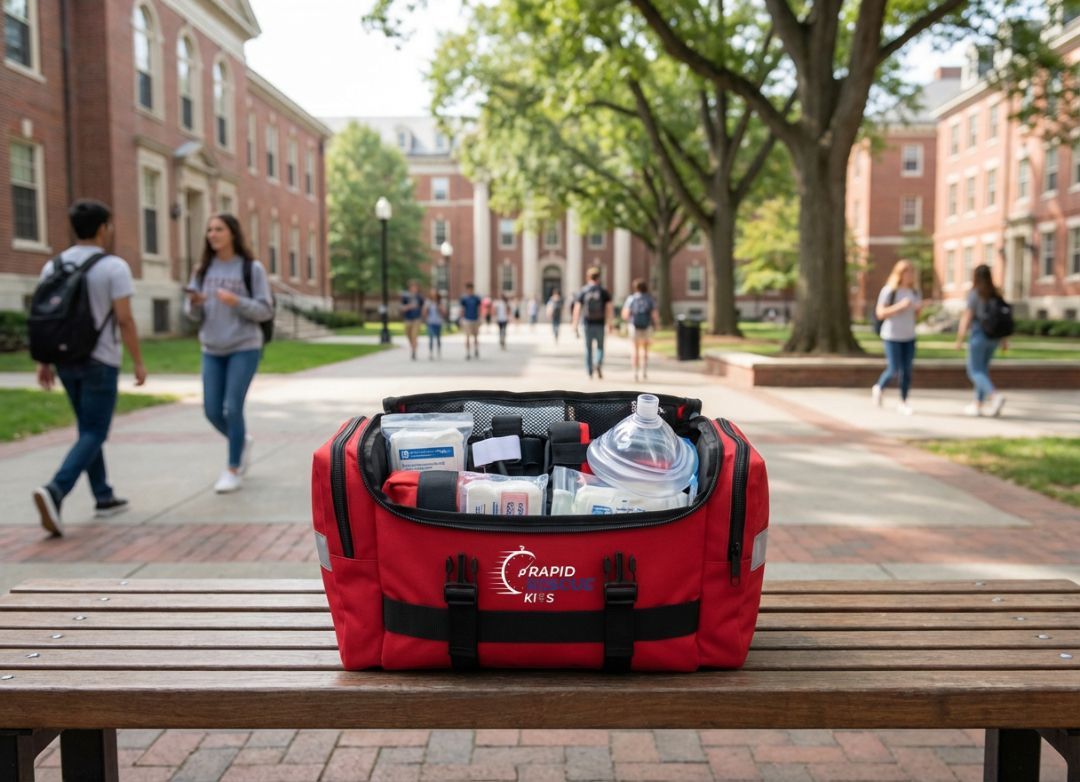
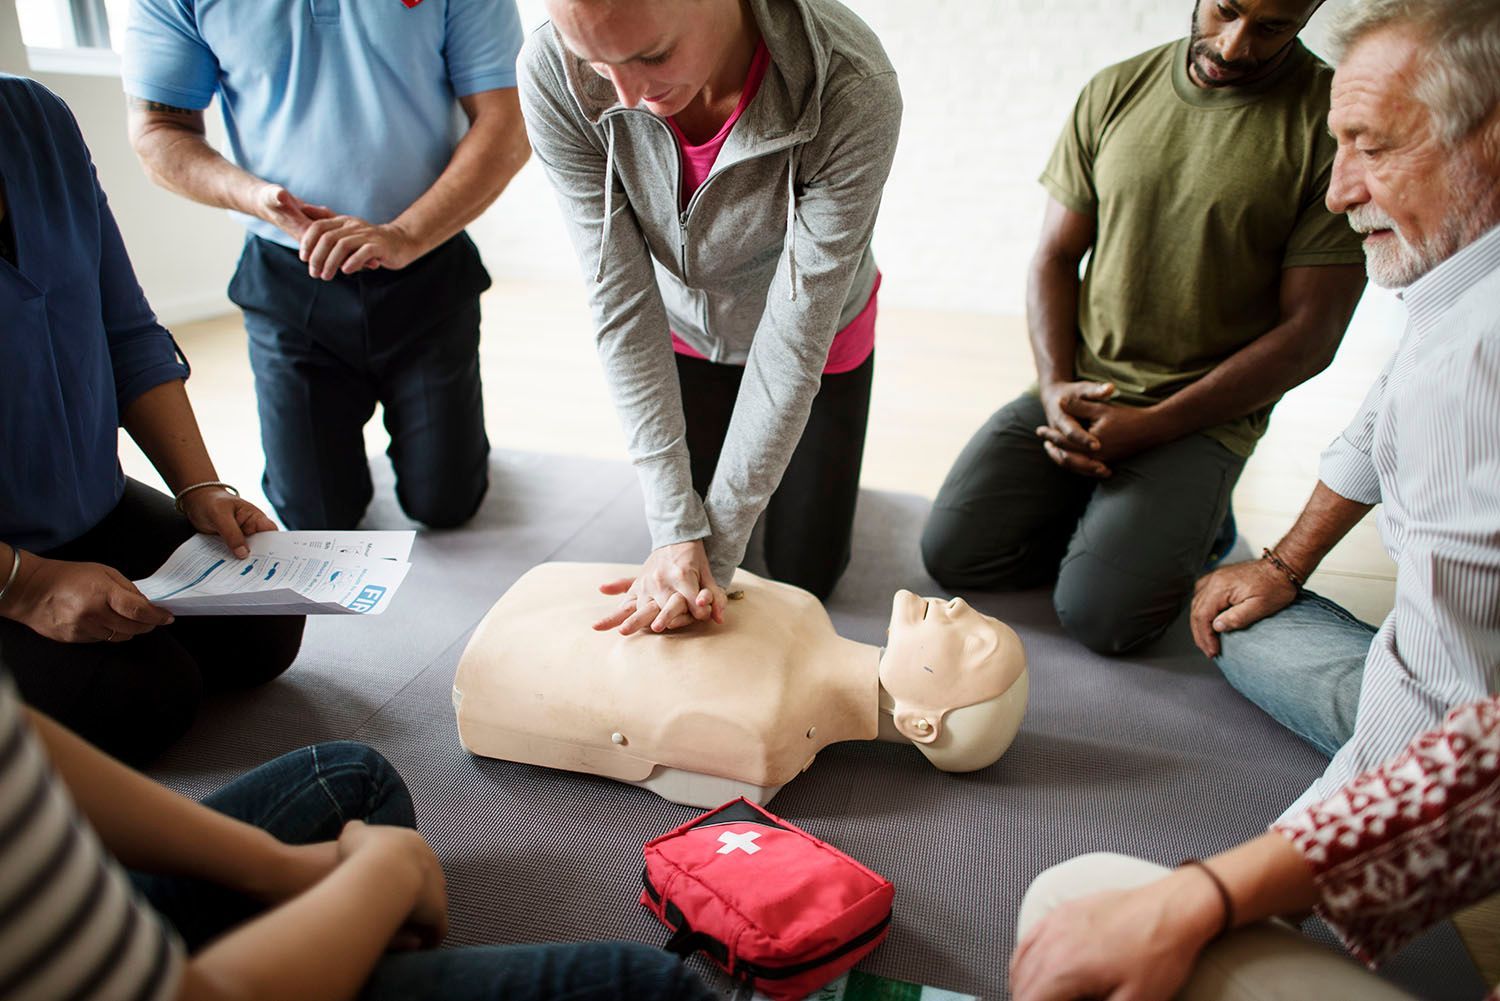
Discover why Stop the Bleed kits are essential for schools, what supplies they should include, where to place them on campus, and how trauma preparedness protects students and staff.

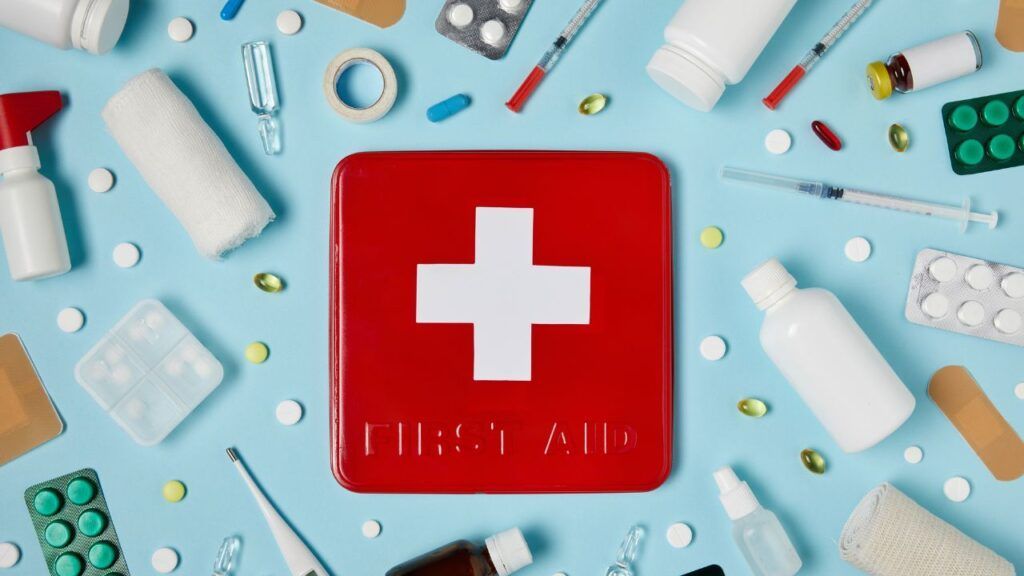
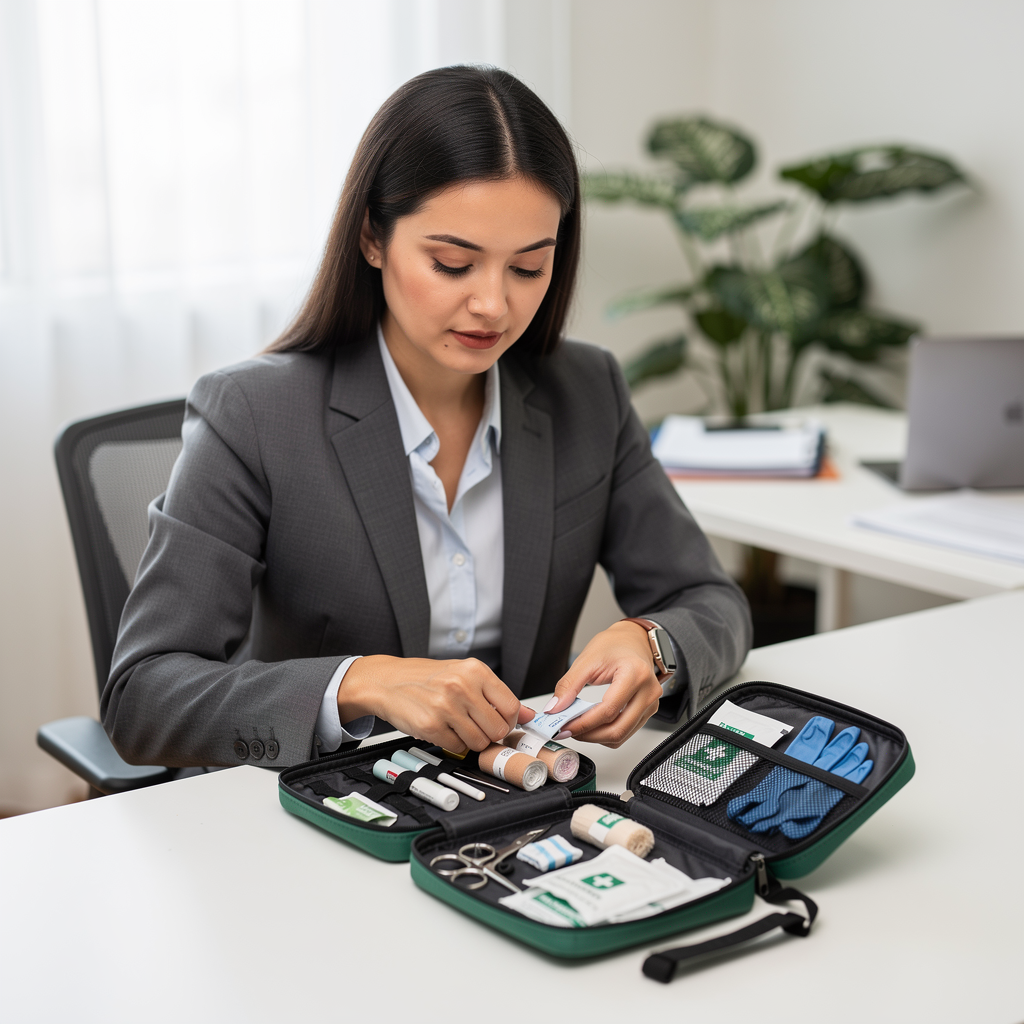
Learn the difference between a trauma kit and a first aid kit, what each one is designed for, and how to choose the right emergency kit for home, work, sports, or travel readiness.